earth plasters

Work parties are fun! Project Mountain Road

This summer hailed the beginning of the chip & slip infill of Mark and Swarn’s house in Duncan, Vancouver Island.  The house is a three story hybrid timber frame with light clay and conventional wall systems, natural earthen plasters, a masonry heater, and in-wall hydronics.  It’s also 100% solar powered, and has a great grey/black water system that will be an epic permaculture garden one day.   it also has a stunning view!

the women of the wall!

the women of the wall

keeping the kids warm in wood chip mountain.

keeping the kids warm in wood chip mountain.

We kicked off the infill with a work party.  I was totally amazed at how many people showed up!  We had two mixers, a tumbler and a mortar mixer which was great because we needed a lot of mix for all those people!  It also made me very happy to see that the majority of volunteers were women.  And kids!  Lots dirty, happy kids.

smooches!

smooches!

Presently we are working on the brown coat (a 1/2″ layer of clay, sand and straw) and when that’s all done we will be doing the finish plaster.  Pretty excited about that part!

the mixing station

the mixing station

The house was designed by Chris and Ruth Hall, and carpentry is led by Noah and Jonas Huston of EModern Homes.  Noah and Arael Peters cut and notched the timber frame, at the same location as my trailer house, so I got to hang out with them a lot this summer.  The frame is amazing, lots of really beautiful clear fir.  Looking forward to wrapping up this project by Christmas – fingers crossed!


Finish Plaster and a Rocket Mass Heater: Phase III of Project Chilliwack

Last summer our crew went to Chilliwack, BC for two weeks to tackle the infill of a chip & slip house.  We got it done.  It was hot, sweaty, laborious and mosquitoey.  And so good!  The house is a two storey with c&s downstairs and conventional framing with Roxul upstairs.  The log work was done by one of the client’s brothers.  (I think she has 4?  Maybe 3.  There were a lot).   In March, my friend Pat Amos of Shiizen Clayworks and I headed back to do the plastering, and build a rocket mass heater.  (I wasn’t part of the stove, that was Pat’s project).  We did a 1/2″ base coat of local clay plaster (clay, sand, straw), and then a finish coat of bagged white clay and sand (and sifted straw, wheat paste and mica for extra sparkles).  There was also some cow and horse poop thrown into the brown coat for good measure, just so the owners could say they did to scare the neighbors a little.  (Although of course such things are totally acceptable in the natural building community).  If you scroll down to older posts you will see some more pics from this project.

photo11

One of 7 doorways...

One of 7 doorways…

Dave and Suze were basically the best clients you could ask for.   I can’t say enough good things about them, and can confidently call them good friends of mine.    I was really happy in Chilliwack, walking across a field to get to work, playing with Libby the cow on my way home most days.  Life was good there!  And the house was looking pretty durn good too when we left.

photo4photo10

a dark brown plaster

a dark brown plaster

A white plaster with no pigment added.

A white plaster with no pigment added.

Pat Amos doing his thing.  First burn!  The stove works great.

Pat Amos doing his thing. First burn! The stove works great.

The rocket mass heater finished and oiled.

The rocket mass heater finished and oiled.

My too-short career as a timber framer

I love timber framing.  If I could do it for a living, I would.  Why don’t you do it then you ask?  Well there isn’t much happening around these parts, and I am too green to do it on my own.  There aren’t many companies and it’s just not that big in these parts.  There is more in the Kootenays (in the mountains of British Columbia) which is where I got my education in timber framing and where I worked for my friend Neil McDonald of Hawthorn Timber Frames in Kimberley, BC.  He would do layout and my wool sweater would get permeated with wood chips.

100_0978

Neil McDonald of Hawthorn Timber Frames

In the Natural Building Program in Kimberley, BC we had a one-week timber frame workshop where we cut a little frame for the tool shed we were building.  Very fancy tool shed!  Anyways I loved that part so much that I decided to do the 13-week Timber Frame Program right after.  It was super fun, I loved it, and it was completely funded by the Women in Trades Program of BCCA.  (BC Construction Association).  The wood, it was so big.  So burly.  So sexy.  I could hew a log into a square timber with an axe just as fast as my classmates (who were all men).   It was great.  And my wonderful instructor, Joe Gex-Collett, who is still teaching there, is hilarious.  The course should be 6 months instead of 13 weeks.

100_0435

Timber Frame workshop 2009 in Kimberley, BC with COTR

100_0674

Fall 2009 Timber Frame Program at College of the Rockies in Cranbrook, BC

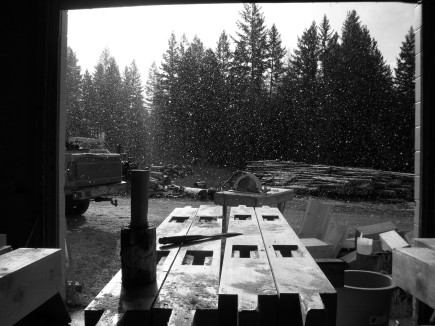
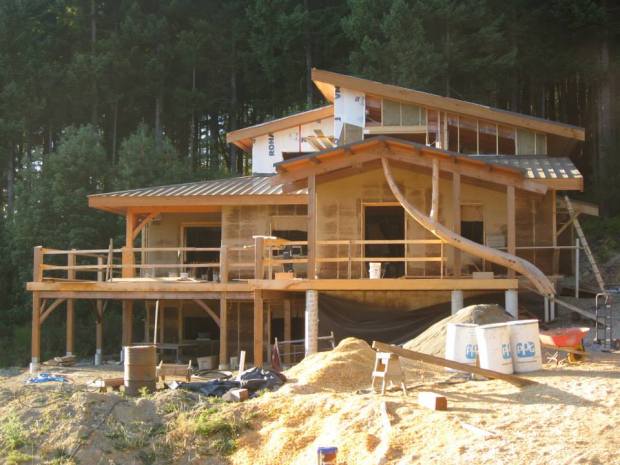
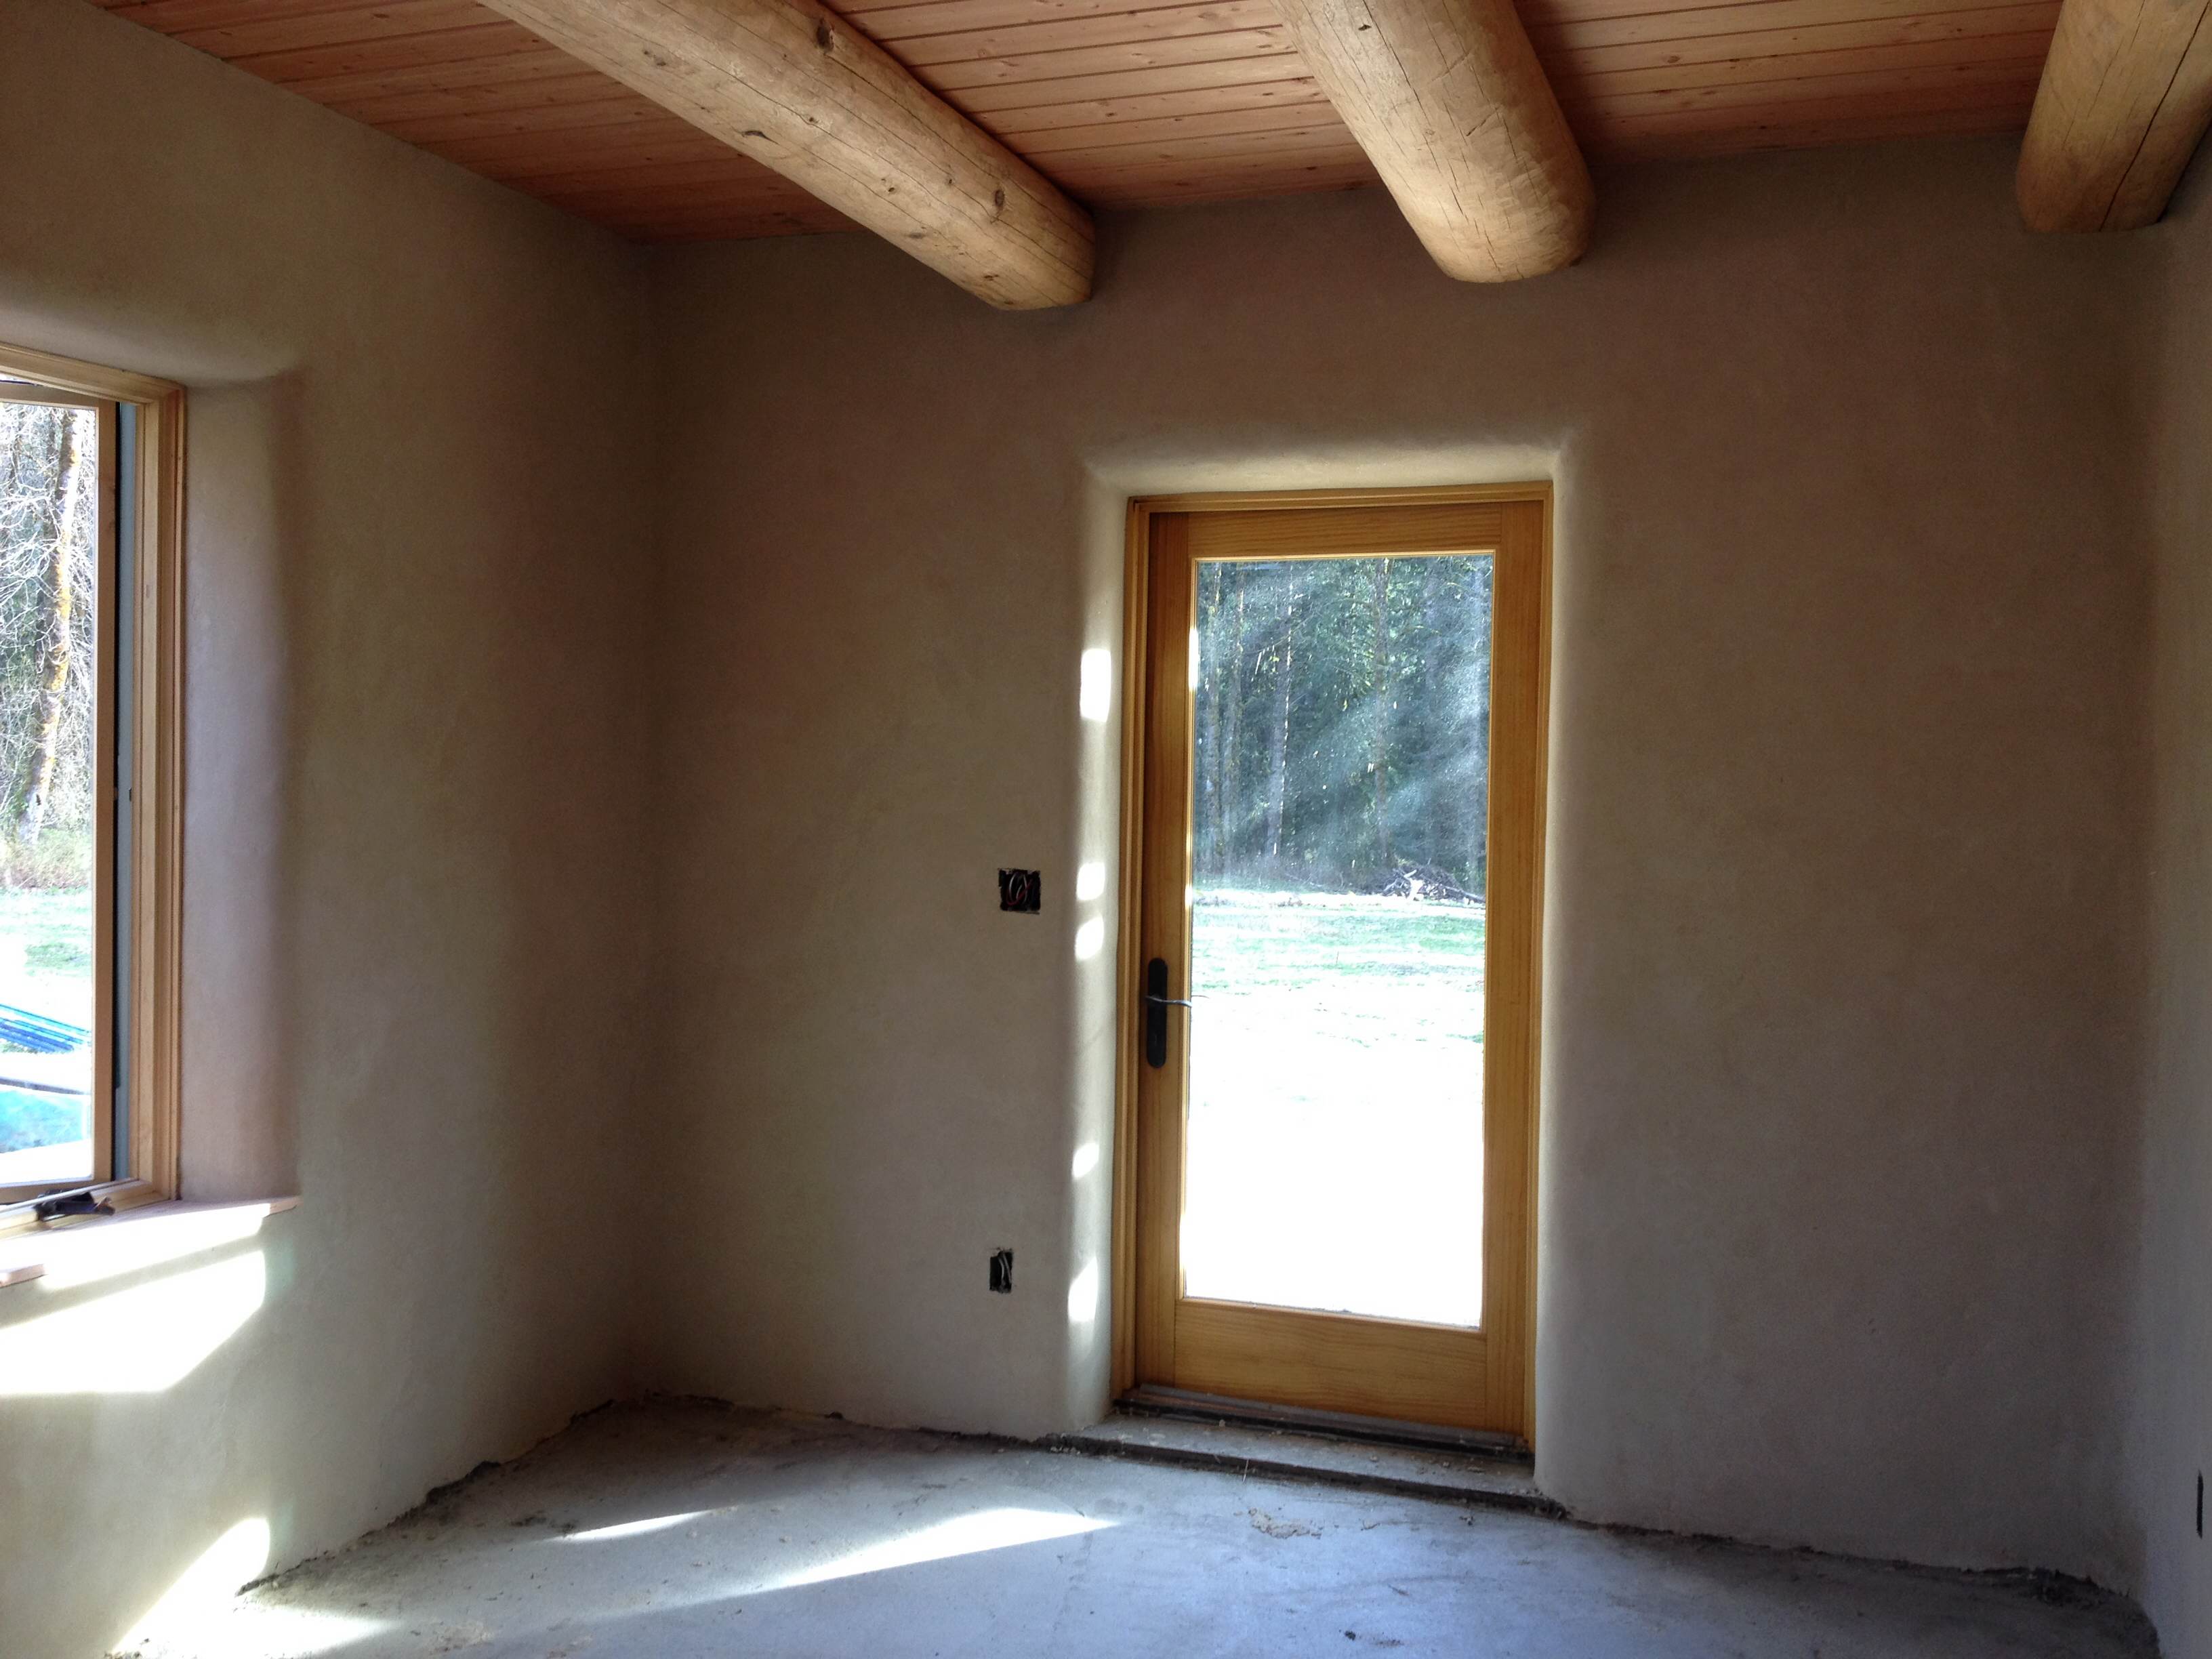
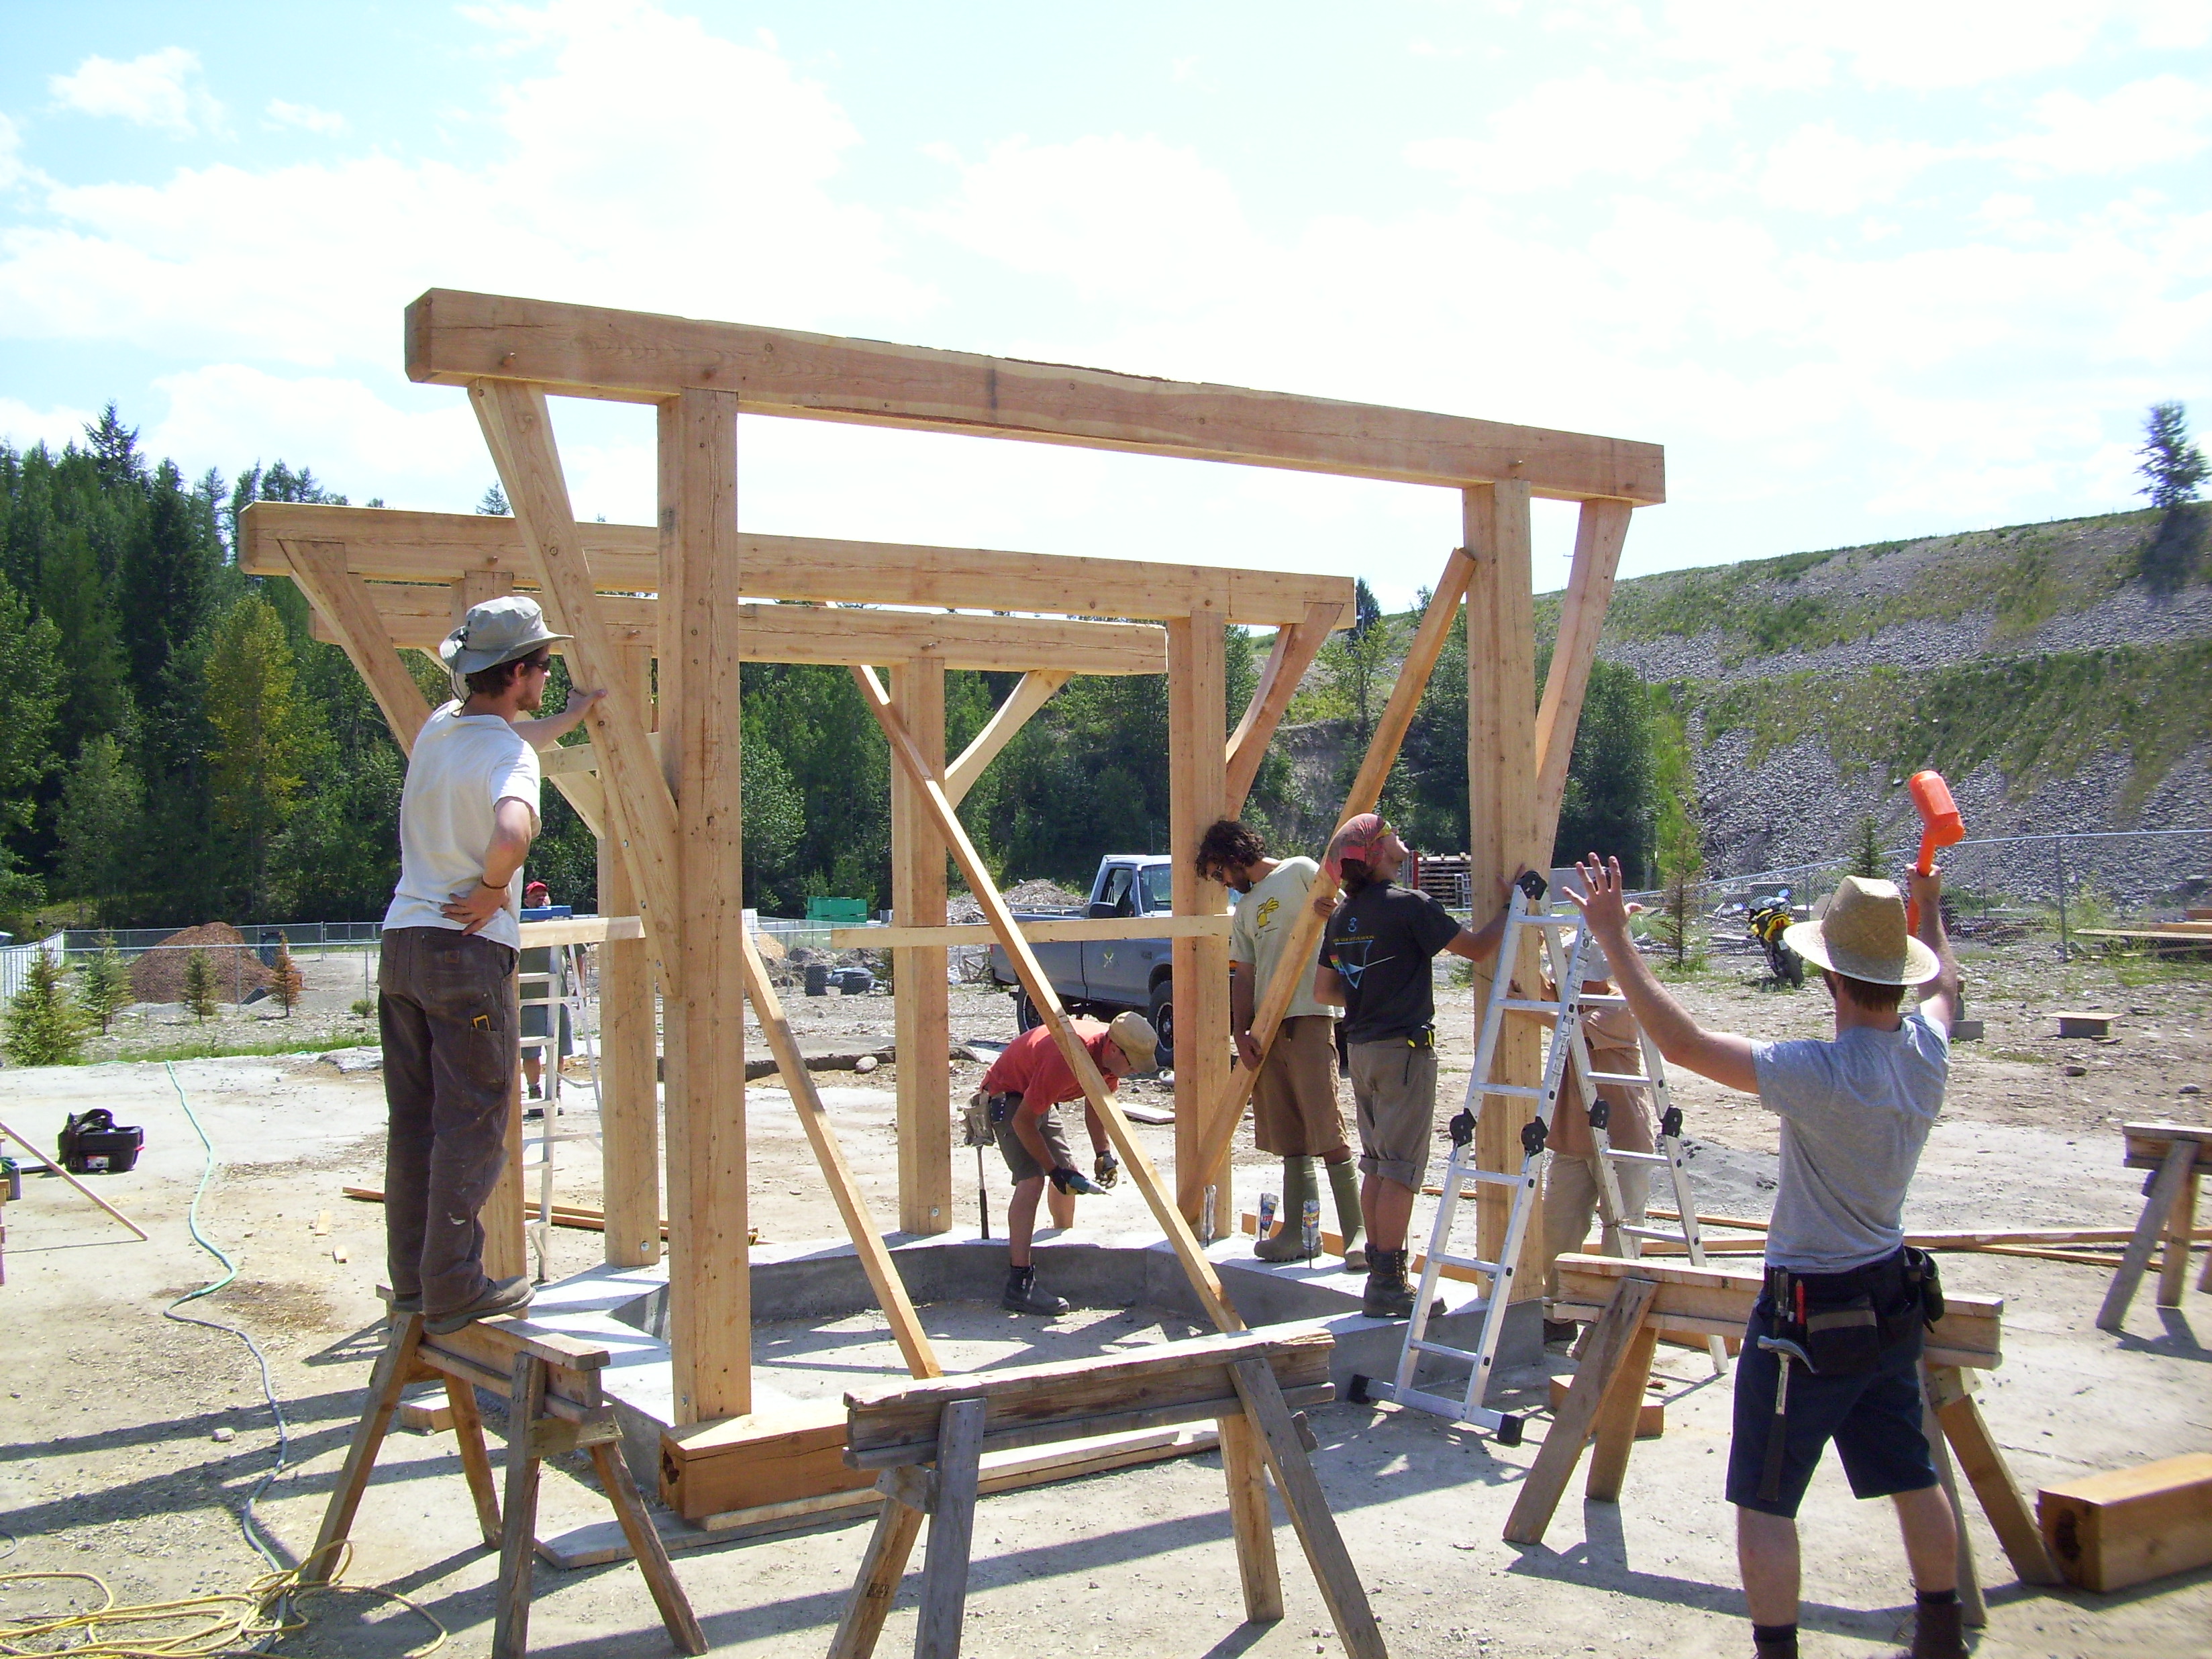
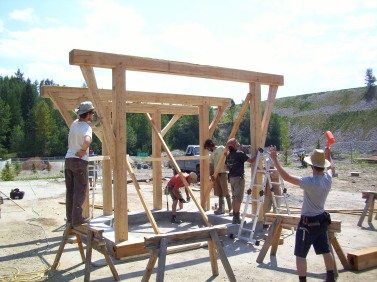
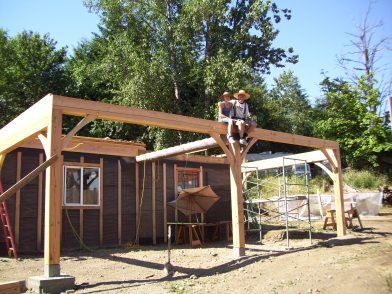
At OUR Ecovillage I had the opportunity to lead a TF project, which was amazing!  One thing I heard during my time there was “this is the best place to make mistakes” and that is a very true statement.  I made mistakes!  How else do you learn?  I got my knee braces wrong (only a teensy bit) and I CUT A BEAM TOO SHORT.  Yep.  Don’t cut your beams, people, until you know how long they have to be.  Hurrah for me! (I managed to fix it.  I found a beam stretcher!  I am selling them for $100 so if you want one, message me;)

100_0835

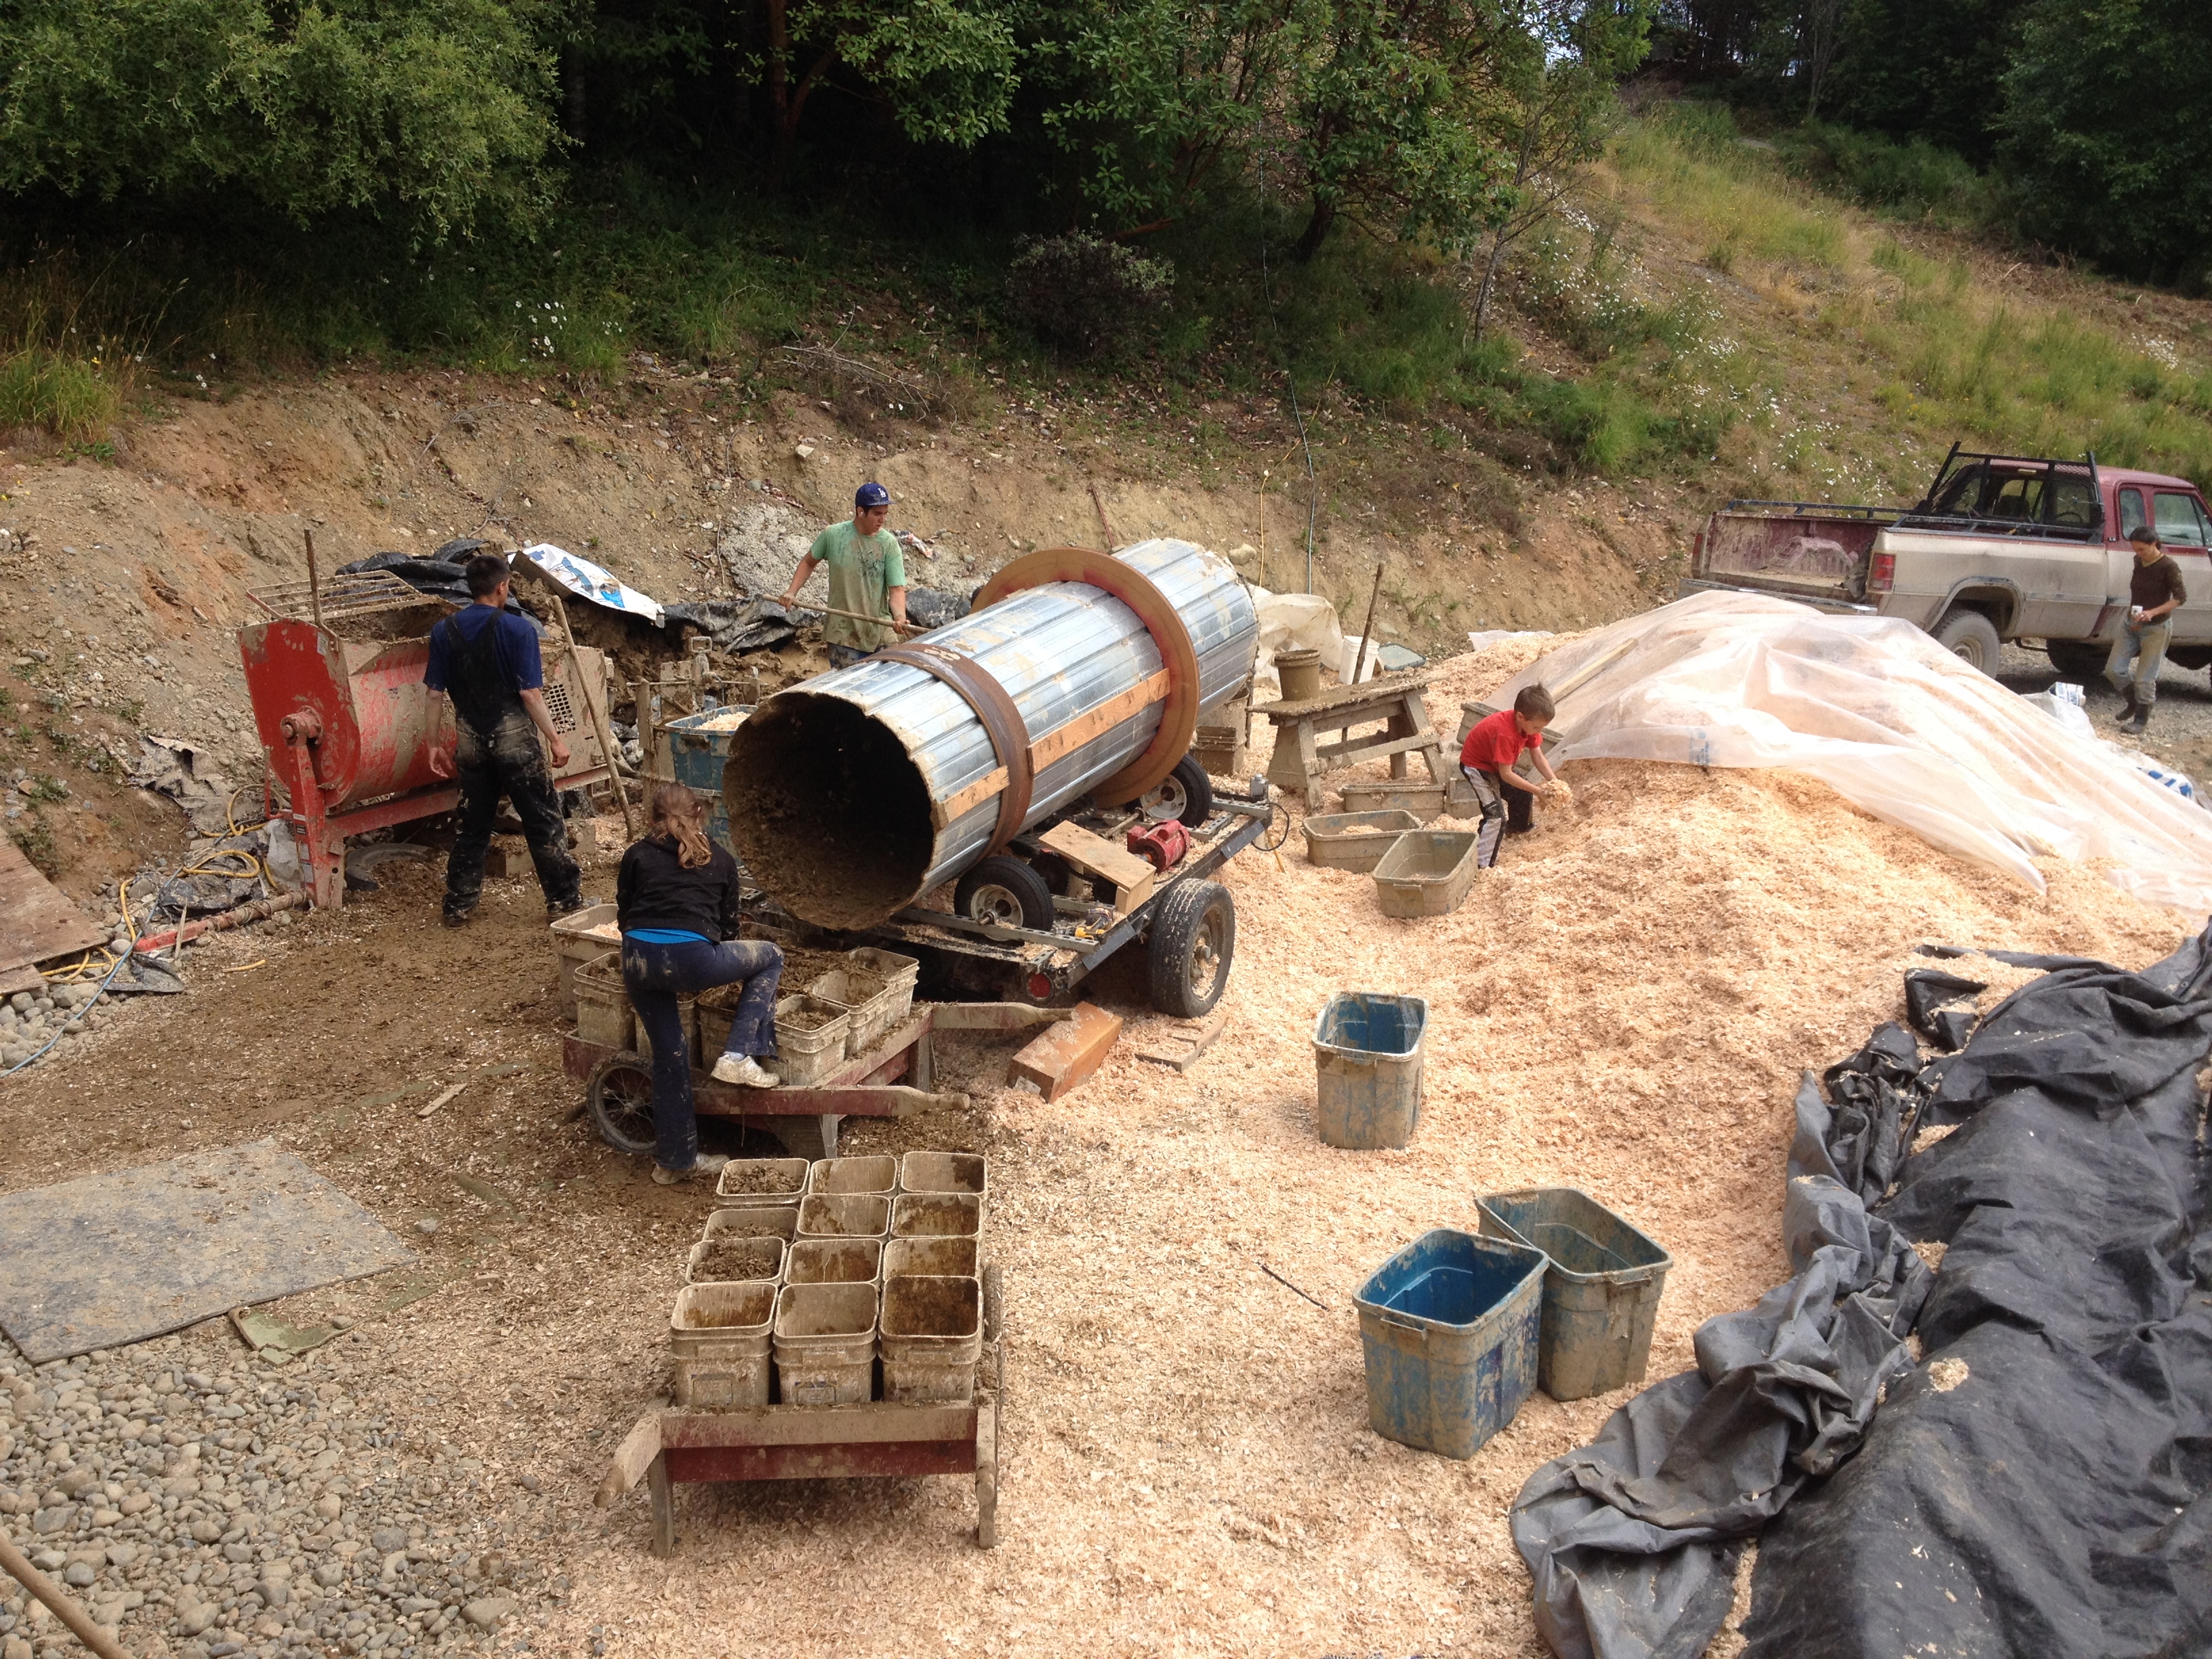
Tom Jensen of Earthen Homes and I at OUR Ecovillage

I did apply with a large, prominent outfit not so long ago.  I sent in my delicately crafted resume and cover letter, along with two letters of recommendation.  Two.  I called, left messages, got nothing back.  I went in person with another resume.  Still nothing.  Sexism?  Perhaps.  It’s hard not to go there.  The only female employees I’ve seen in other shops are oiling.   I can only try and not make assumptions, and continue to push to do what I am good at and what I enjoy.

DSCN3663

Our frame up and baled in Cranbrook, BC

Anyways.  Now I have a very nice, very sharp Behr chisel that doesn’t see a lot of action.  I wish she did.  I feel out of practice, and I’m losing the language.  I try to talk about joinery and I can’t remember the names.  It’s kinda sad.  I hope one day I get the chance to do some more notching, but for now I will carve another niche for myself.

100_0982

Natural Clay Plasters. Soften your space.

Light clay walls with earthen plasters, and a cob bench.  Window by  Kata Polano of Earthen Built

Light clay walls with earthen plasters, and a cob bench. Window by Kata Polano of Earthen Built

The clay plasters I make are comprised primarily of clay and sand.  I use wheat paste to stop them from dusting and to harden them, marble dust for even more hardening, and fiber such as straw or cattail fluff.  Yes.  Cattail fluff.  It’s the very best!  It’s like invisible mini re-bar in your mix.  The best time to harvest is in the early spring, when the heads are mature but haven’t fluffed all over the place yet.  It feels pretty awesome to go collecting and know that they are going to end up on someone’s walls.  I haven’t used cow poop yet in a finish plaster but I have in a base coat.  Smells interesting when it ferments!  Fermented plaster is another post altogether.  Coming soon!

clay plaster with straw

clay plaster with straw

You can get pretty much any colour you like in a clay plaster, I use iron oxides for bolder colours and ochres for more neutral earth-tones.  The kind of sand you use makes a big difference, for example a light coloured plaster would be made with white silica sand and white clay, to make a brown you could use brown clay or brown pigment.  I also use a mix of white sand and dark for a salt-and-pepper effect which can be quite eye-catching.  The possibilities are endless.

And textures… So many.  Dead flat, gently undulating, smooth with intermittent textural variation.  My personal favorite.  (And the fastest!)   Burnished, compressed… Lovely.

A 'salt and pepper' plaster.

A ‘salt and pepper’ plaster.

Plasters need to be seen to be experienced.  I have included some photos but I find their essence hard to capture.  I tried though.  They are so far from paint, it’s a totally different experience.  The first thing that comes into my mind when I walk into a plastered space is “soft”.    So soften your space!  Your heart will soften too, or your money back.  Just kidding.  Plasters also improve indoor air quality, actually removing toxins from the air.   Documented fact… somewhere around here…  Clay is also naturally hydroscopic which means it absorbs H20 from the air, minimizing potential for mold due to it’s absorbency.  So put it in your bathroom!   Put it in your bedroom!  For sleeping!  It is also incredibly low in embodied energy compared to paint, and is 100% completely non-toxic.  You could eat it.  It would hurt your teeth but you could eat it.  You can’t eat paint.  Not at all.

A plastered ceiling at Eagle Nest

A plastered ceiling at Eagle Nest