chip and slip

Work parties are fun! Project Mountain Road

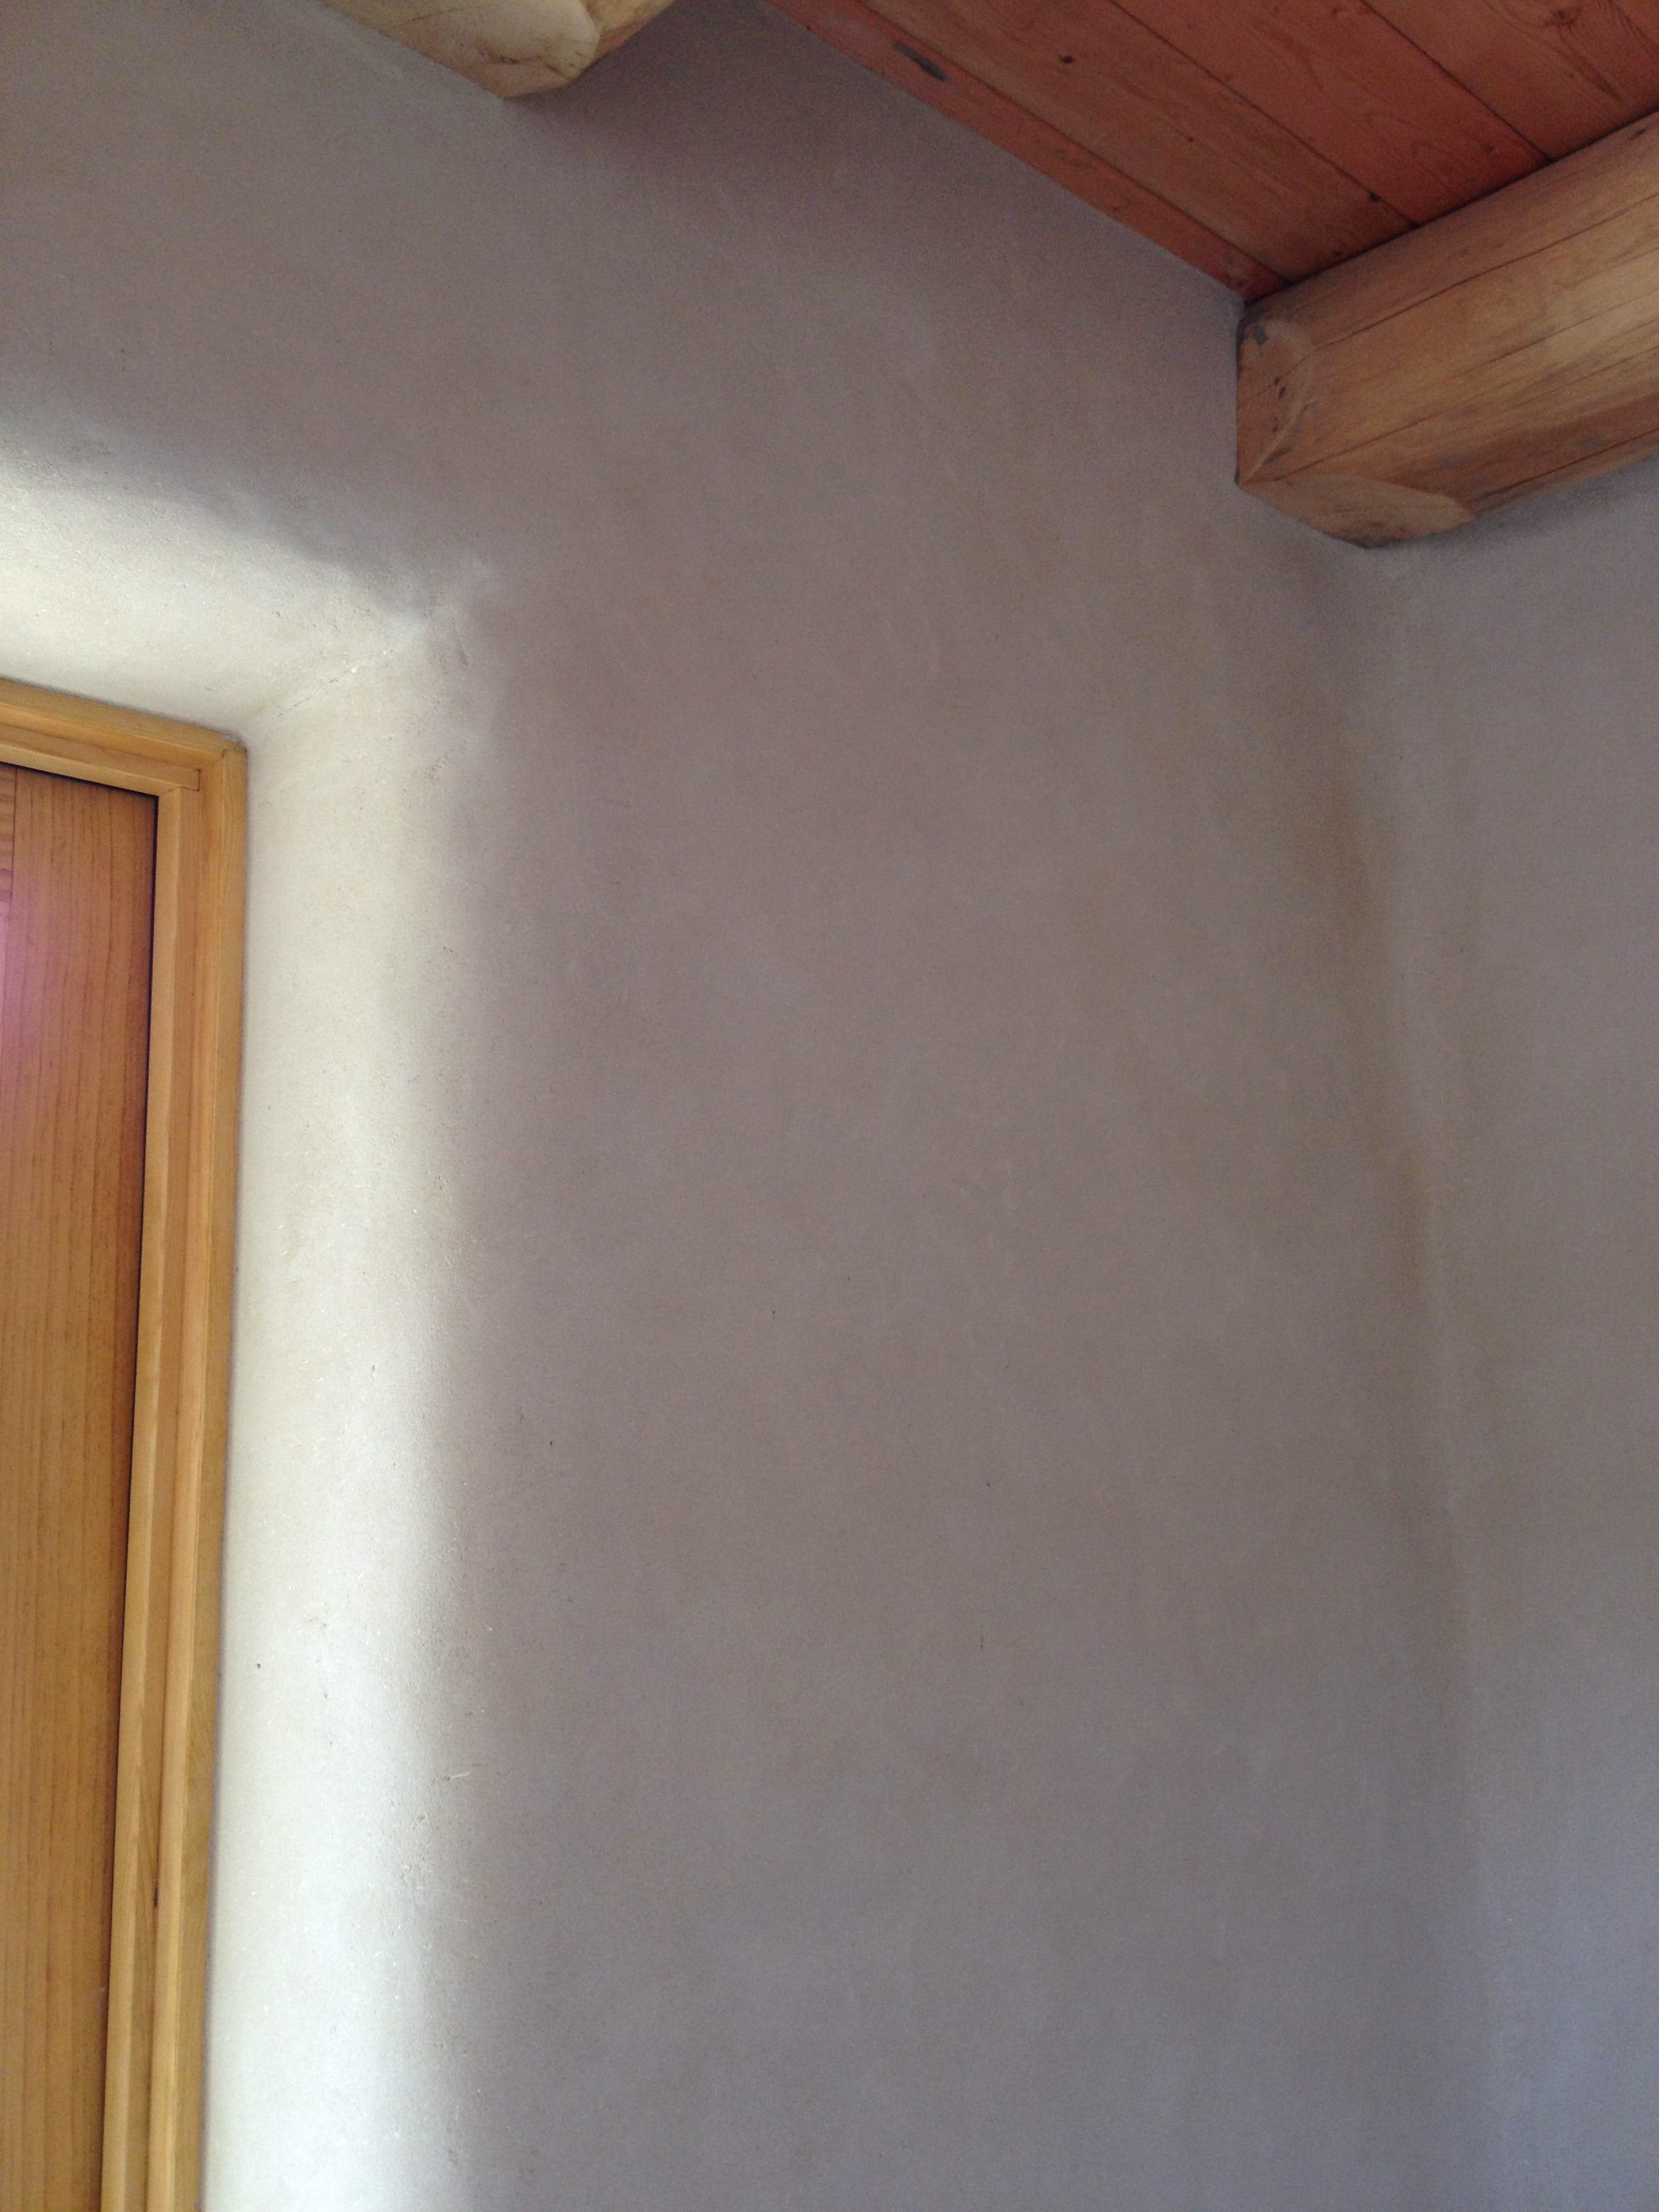
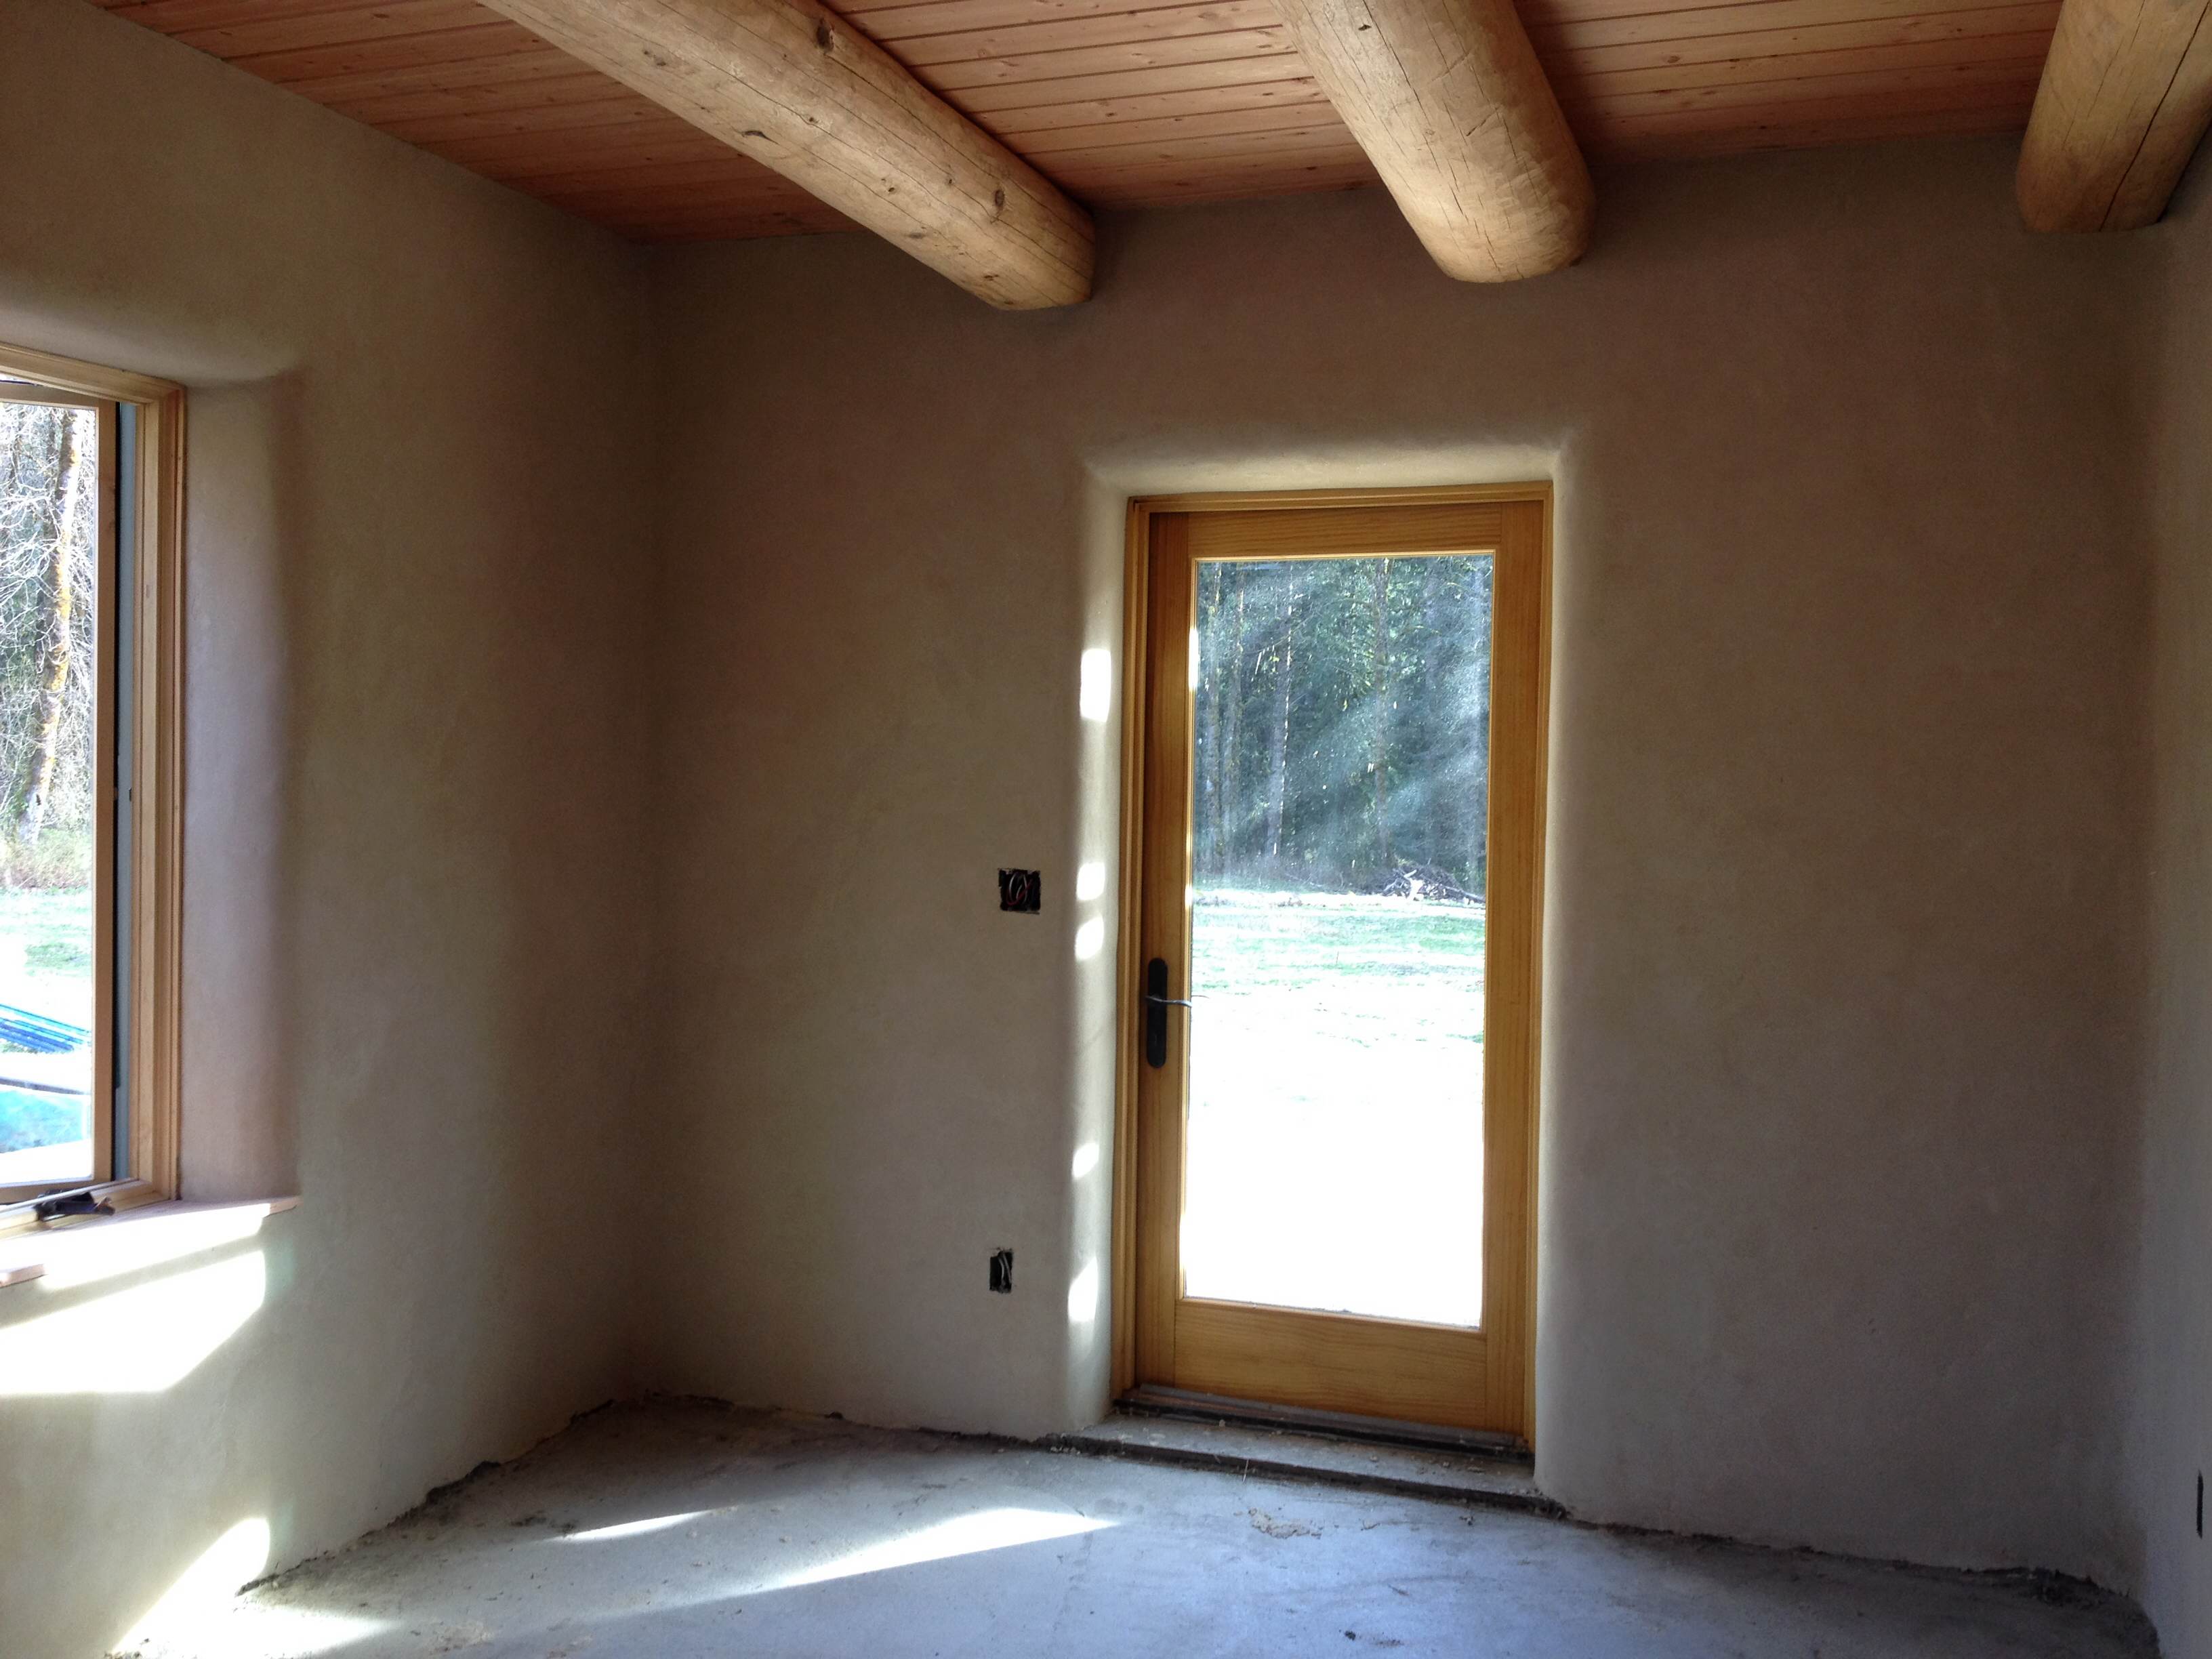
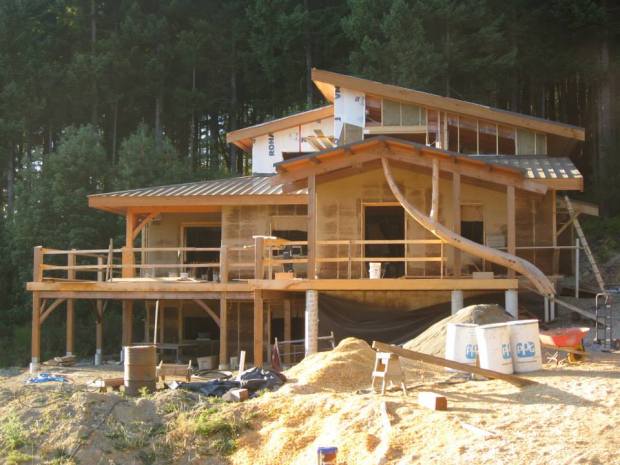
This summer hailed the beginning of the chip & slip infill of Mark and Swarn’s house in Duncan, Vancouver Island.  The house is a three story hybrid timber frame with light clay and conventional wall systems, natural earthen plasters, a masonry heater, and in-wall hydronics.  It’s also 100% solar powered, and has a great grey/black water system that will be an epic permaculture garden one day.   it also has a stunning view!

the women of the wall!

the women of the wall

keeping the kids warm in wood chip mountain.

keeping the kids warm in wood chip mountain.

We kicked off the infill with a work party.  I was totally amazed at how many people showed up!  We had two mixers, a tumbler and a mortar mixer which was great because we needed a lot of mix for all those people!  It also made me very happy to see that the majority of volunteers were women.  And kids!  Lots dirty, happy kids.

smooches!

smooches!

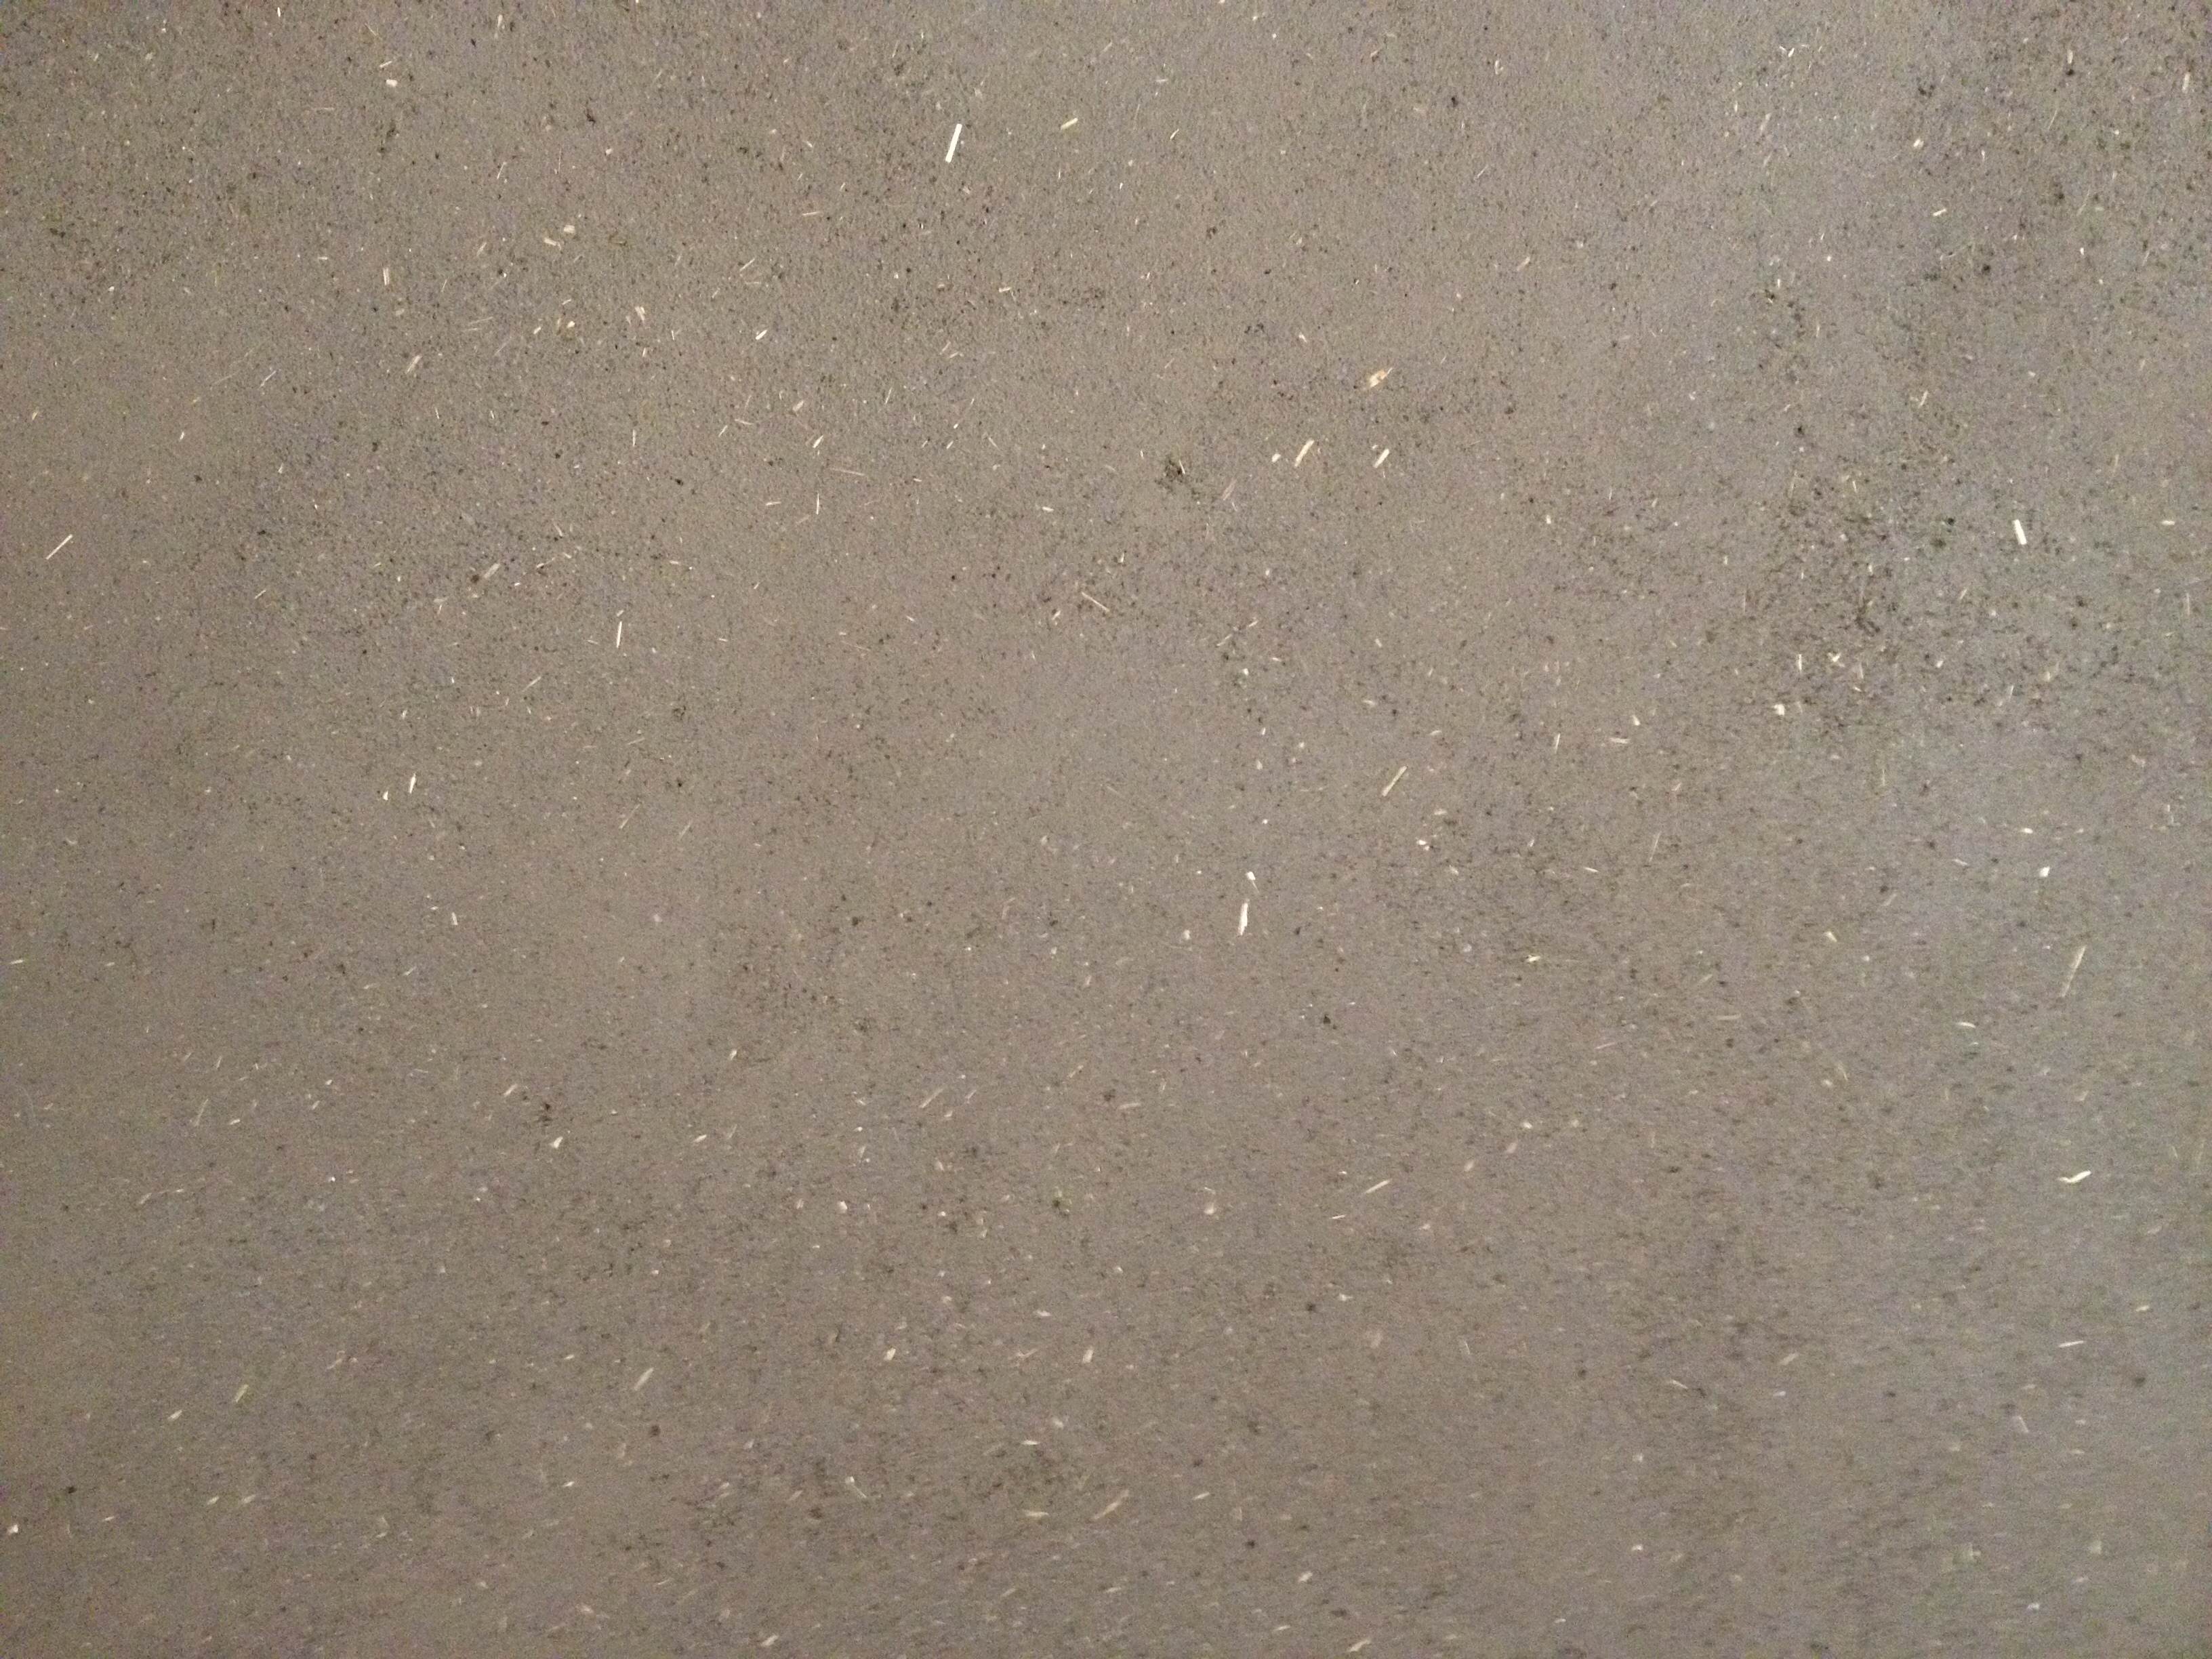
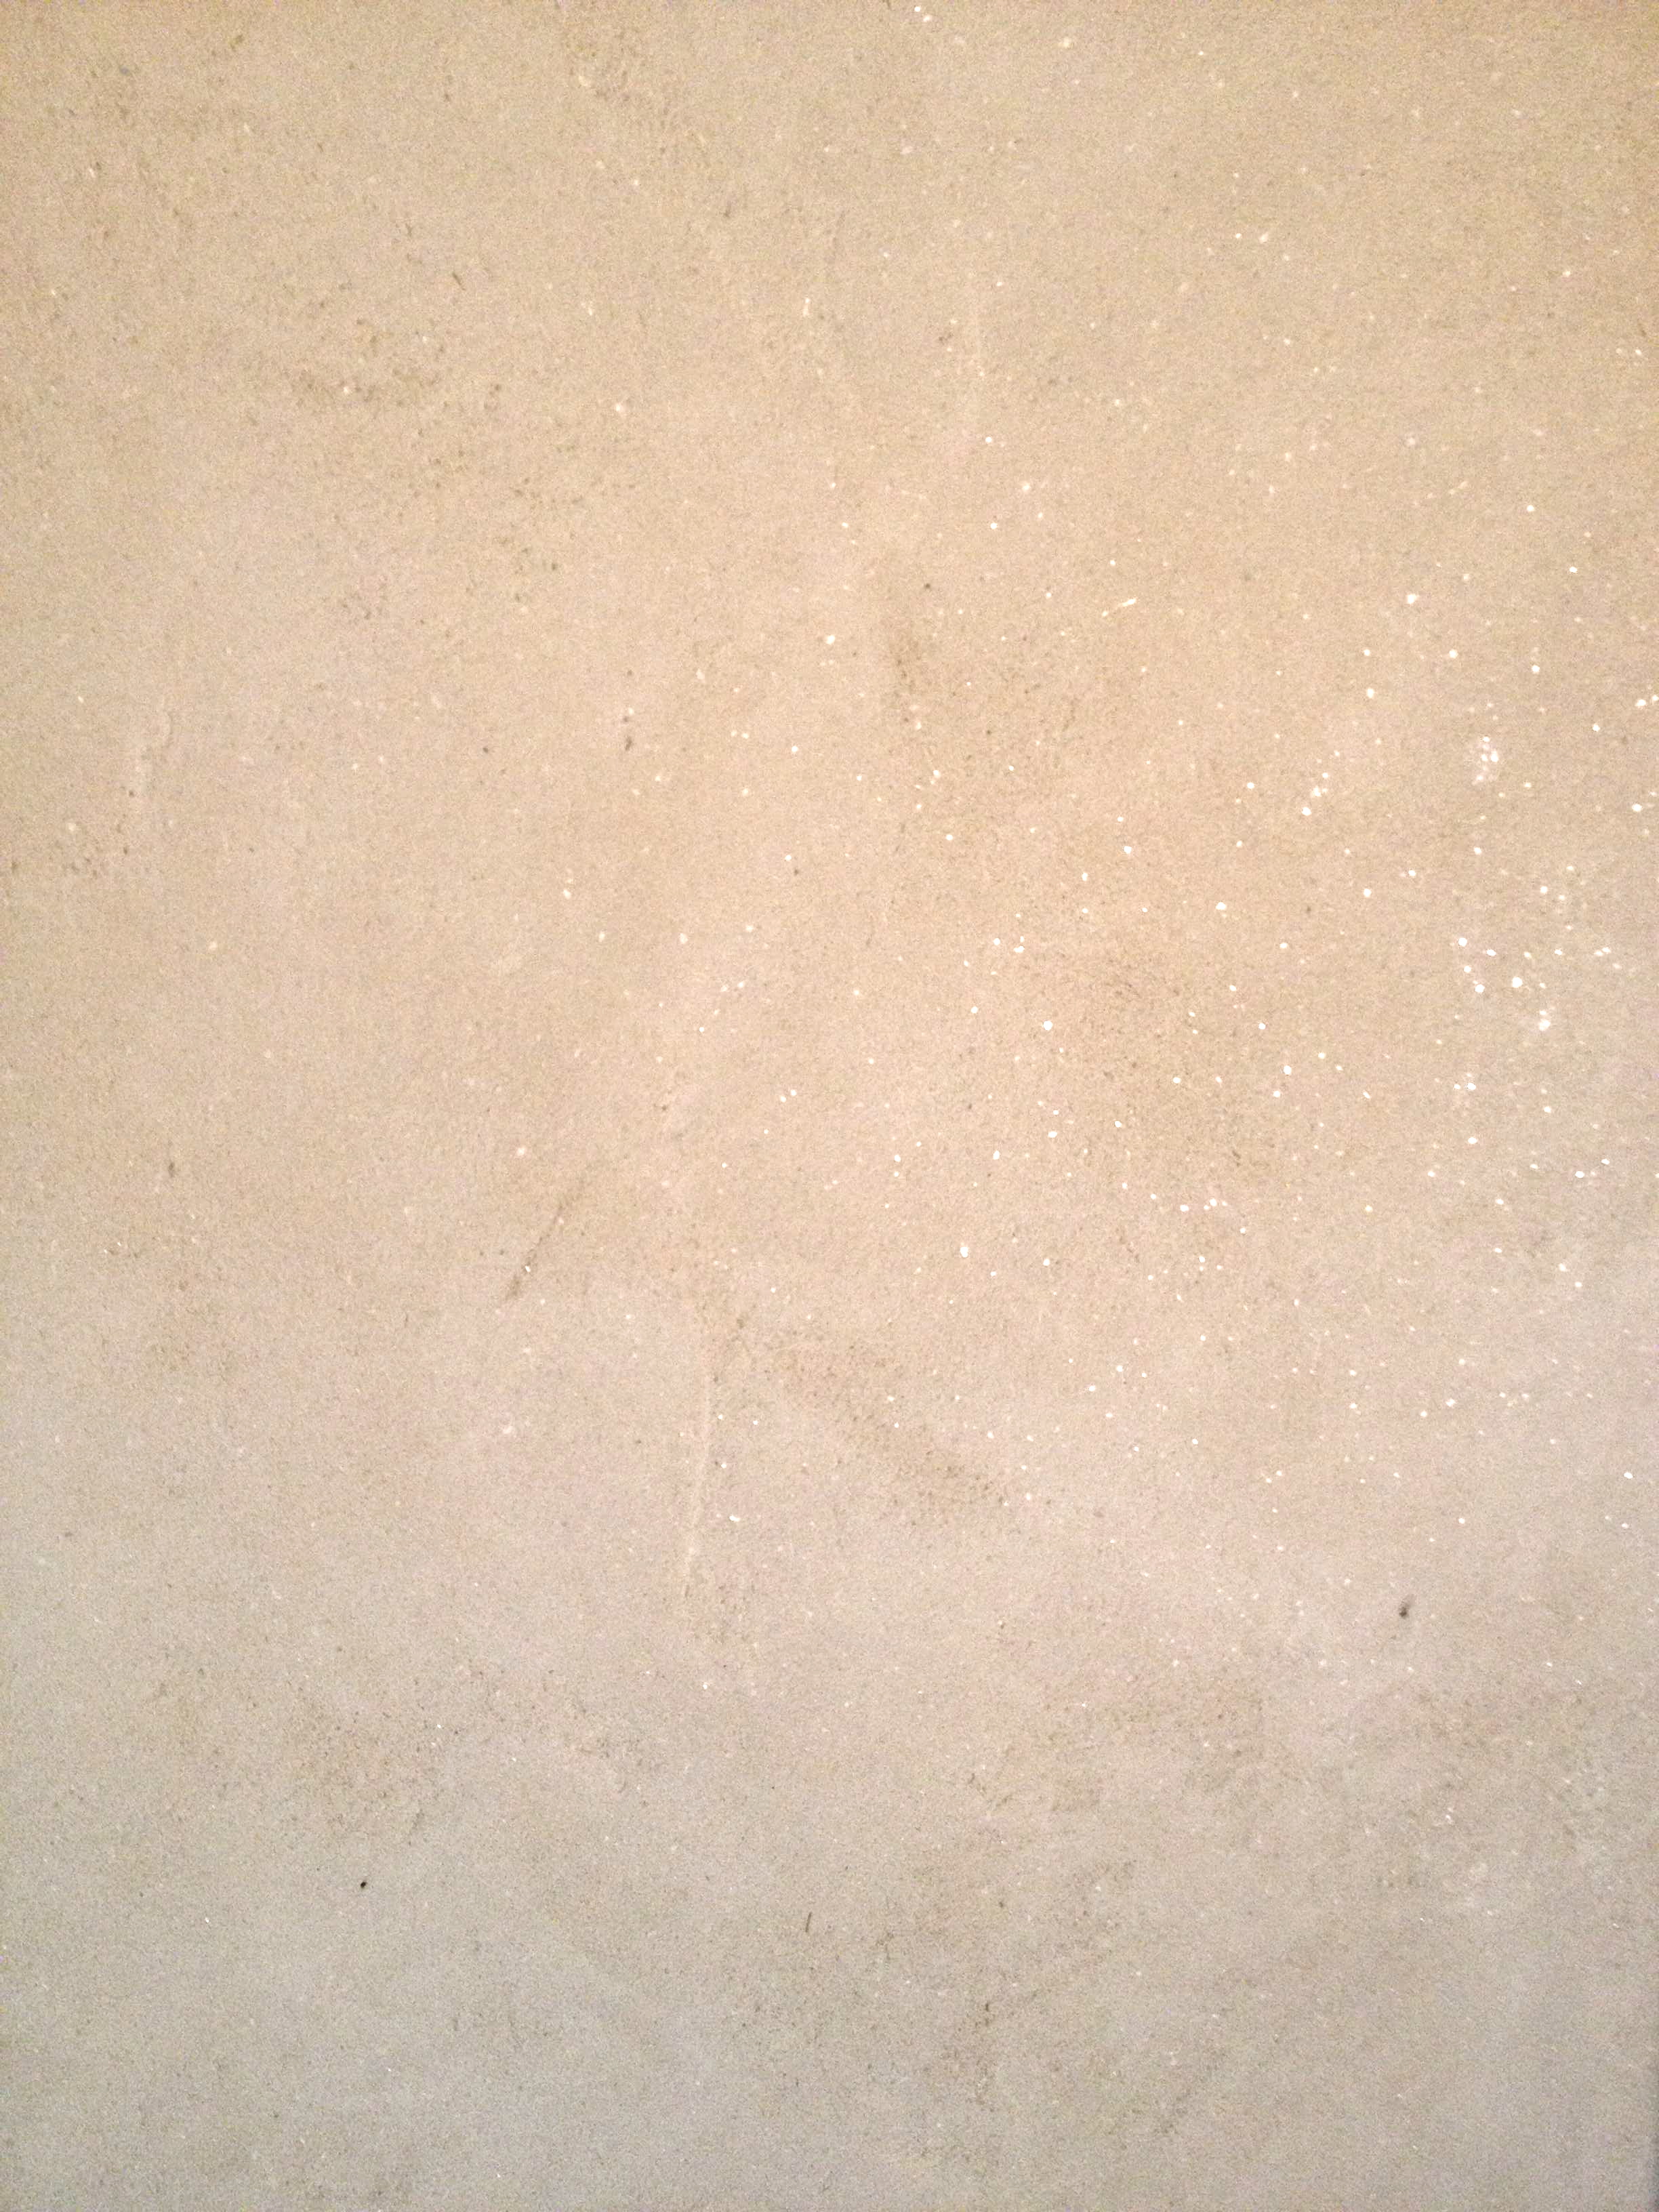
Presently we are working on the brown coat (a 1/2″ layer of clay, sand and straw) and when that’s all done we will be doing the finish plaster.  Pretty excited about that part!
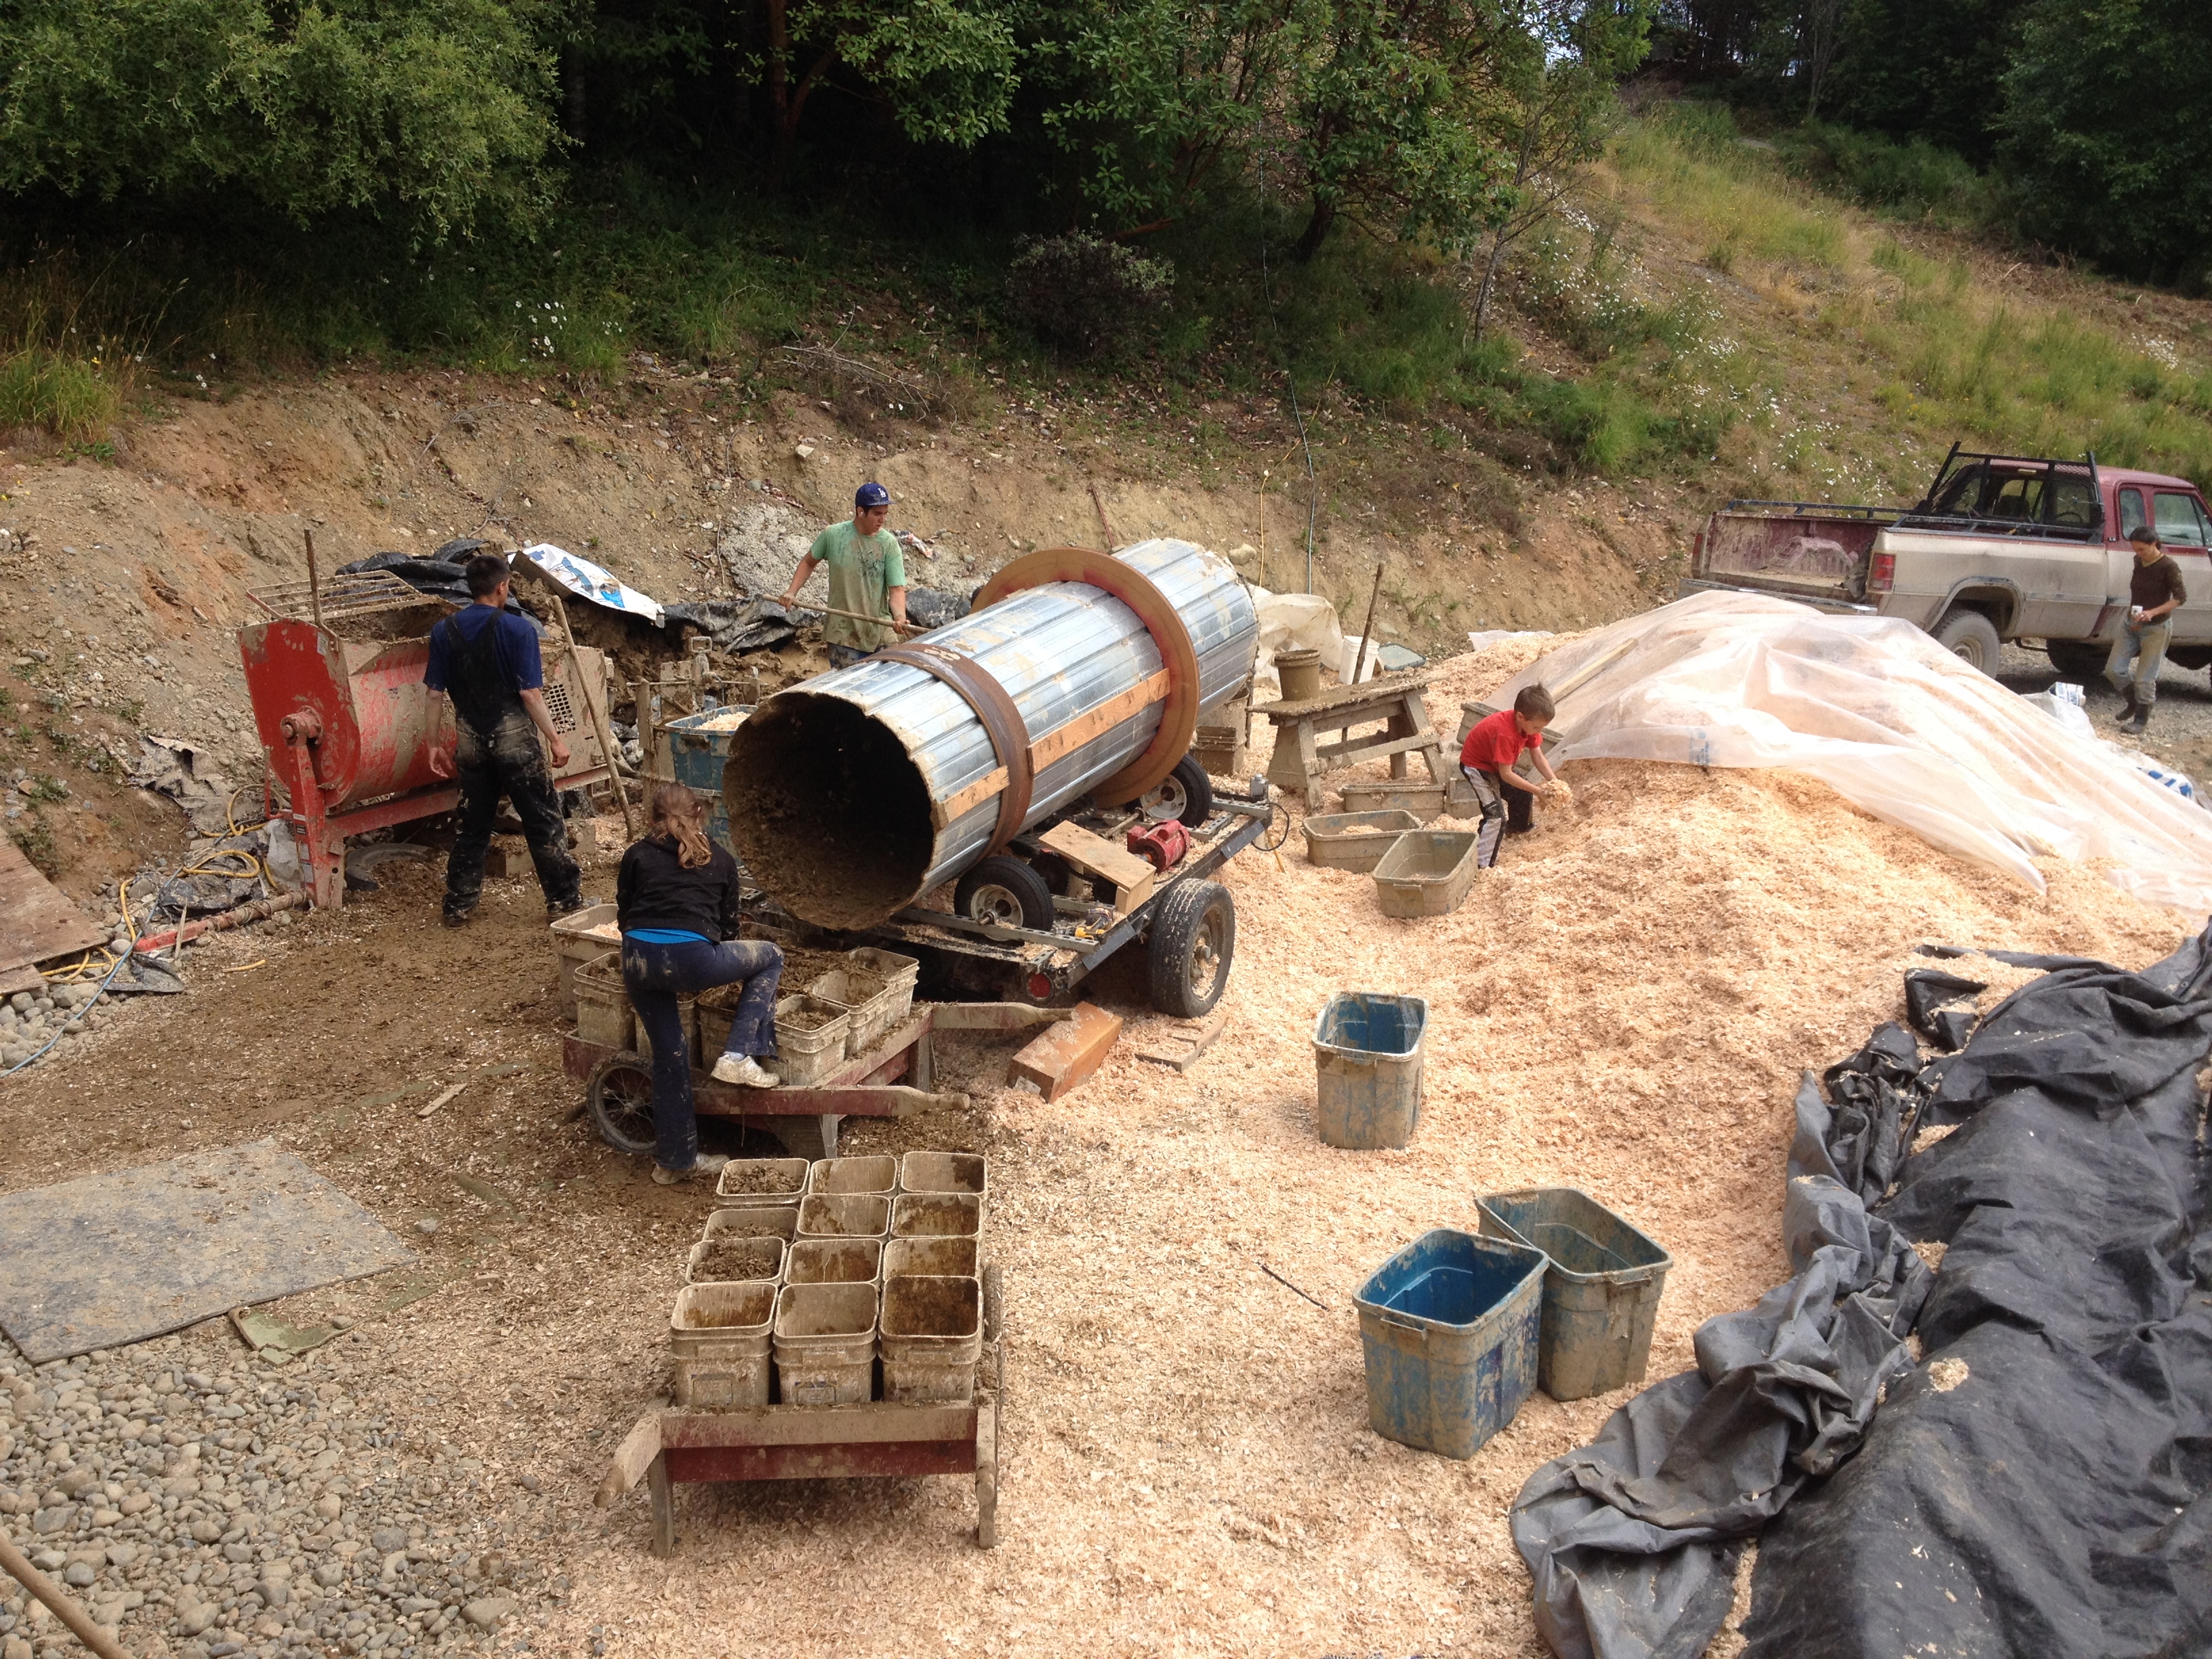
the mixing station

the mixing station

The house was designed by Chris and Ruth Hall, and carpentry is led by Noah and Jonas Huston of EModern Homes.  Noah and Arael Peters cut and notched the timber frame, at the same location as my trailer house, so I got to hang out with them a lot this summer.  The frame is amazing, lots of really beautiful clear fir.  Looking forward to wrapping up this project by Christmas – fingers crossed!


Finish Plaster and a Rocket Mass Heater: Phase III of Project Chilliwack

Last summer our crew went to Chilliwack, BC for two weeks to tackle the infill of a chip & slip house.  We got it done.  It was hot, sweaty, laborious and mosquitoey.  And so good!  The house is a two storey with c&s downstairs and conventional framing with Roxul upstairs.  The log work was done by one of the client’s brothers.  (I think she has 4?  Maybe 3.  There were a lot).   In March, my friend Pat Amos of Shiizen Clayworks and I headed back to do the plastering, and build a rocket mass heater.  (I wasn’t part of the stove, that was Pat’s project).  We did a 1/2″ base coat of local clay plaster (clay, sand, straw), and then a finish coat of bagged white clay and sand (and sifted straw, wheat paste and mica for extra sparkles).  There was also some cow and horse poop thrown into the brown coat for good measure, just so the owners could say they did to scare the neighbors a little.  (Although of course such things are totally acceptable in the natural building community).  If you scroll down to older posts you will see some more pics from this project.

photo11

One of 7 doorways...

One of 7 doorways…

Dave and Suze were basically the best clients you could ask for.   I can’t say enough good things about them, and can confidently call them good friends of mine.    I was really happy in Chilliwack, walking across a field to get to work, playing with Libby the cow on my way home most days.  Life was good there!  And the house was looking pretty durn good too when we left.

photo4photo10

a dark brown plaster

a dark brown plaster

A white plaster with no pigment added.

A white plaster with no pigment added.

Pat Amos doing his thing.  First burn!  The stove works great.

Pat Amos doing his thing. First burn! The stove works great.

The rocket mass heater finished and oiled.

The rocket mass heater finished and oiled.

Chip and Slip walls vs Light Clay on the West Coast

Light clay (or straw-clay) is straw coated thinly with clay slip and packed into formed walls.  Popular in Germany where this technique was developed long ago, it’s also popular all over North America.  What I have been working on is a bit different, it’s the same method except we use wood chips instead of straw.  Why you ask?  Well there are a bunch of reasons.  They all pertain to geographic location and climate.  Location:  Vancouver Island, BC, Canada.  Climate: WET.

  • #1:  Wood chips are free.  Here on the west coast, if you take a look at any hillside what do you see?  A big ugly clearcut.  We get wood chips from the mill, they are a waste product, we only pay for trucking which is around $50 or so depending on distance.  Cheap like borscht!
interior chip and slip wall

interior chip and slip wall

  •  #2:  There is not really any straw here.  It would have to get trucked in from Saskatchewan, or if we are lucky Creston or Lethbridge.  Consequently bales out here are ridiculously expensive, about $14 a pop compared to about $3 in the prairies with increased embodied energy due to excess fuel usage.  This is also something to think about if you are considering straw bale construction.  Which I adore.   Away from the coast.  Straw bale post coming soon!
chip & slip in Chilliwack

chip & slip in Chilliwack

  •  #3:  Straw rots.  Wood chips take waaaaay longer to break down.  Here on the coast we have rain, all kinds of it, and moisture, all the time.  We have beautiful summers here but it can rain all of June, and start again in September.  Our drying season is sketchy.   You have a small window of time to make your walls.  You need straw clay walls to dry as fast as possible (an inch a week in good conditions) or else they will turn into compost in the middle.  You don’t want that.  Chip walls can stay wet for months.  Not that you really want that but that means you can start packing way earlier and go way later without worrying about anything.  I’ve packed walls in the winter.  It’s cold.  And wet.  And dirty.  And good.  🙂
Chip and slip timber frame with a stave wall above.  Wood work by Pat Woodland of Woodland Boat Works, Cobble Hill, BC

Chip and slip timber frame with a stave wall above. Wood work by Pat Woodland of Woodland Boat Works, Cobble Hill, BC

  • #4:  It’s all the same.  The R-value is pretty much the same (approx R-24).  There is no hard data on this as the value can vary depending on how tightly the walls are packed and how clay-ey the mix is.  The lighter the mix, the higher the value, and we mix ours light and pack it just right.   I heard someone say about straw bale R-value, “It’s R-enough”.  We typically build a 12″ wall or 30 cm.  That is pretty durn thick my friend, so think about that.  You mix it the same, it’s lovely and soft to work with the same, non-toxic the same, happy the same.  Plaster it the same.  The only difference is that a straw-clay wall will have more shear strength due to the length and strength of the straw, but if you factor that into framing, in design and engineering, and with your base coat of plaster (which typically has a lot of straw) you have your bases covered.
  • #5:  You can mix it in a mortar mixer.  Easy peasy and fast.   Straw not so much.  I’ve only used a tumbler (check out EcoNest) and my mitts (slow)  and I don’t think you could do it in a mortar mixer.  Too stringy.
happy owner-builder!

happy owner-builder!

So there’s 5 reasons.  Enough to make a rational decision.  This is a good example of things to think about when you are trying to figure out what method to use to build your house wherever you may be.  Depending on where you live the decisions you make regarding materials is very important and can save you time, money, embodied energy and a massive headache.   Use what you have around you, save money, keep it simple my friends.  And have fun!


EcoNest workshop with Robert Laporte at OUR Ecovillage, Shawnigan Lake, BC